Unlock the Secret to Creamy, Homemade Hummus: A Foolproof Guide
Have you ever wondered if that store-bought dip could ever truly compare to the vibrant, fresh flavors of homemade Hummus? We’re here to tell you it can’t! Preparing this nutritional powerhouse at home is not just about saving money; it’s about controlling the quality of your ingredients, customizing the taste to your preference, and experiencing the sheer satisfaction of creating something truly delicious from scratch. This comprehensive guide will walk you through crafting the perfect Hummus recipe, ensuring a silky-smooth texture and an explosion of taste. Say goodbye to preservatives and hello to a wholesome, flavorful spread that will elevate any meal or snack.
Ingredients & Kitchen Tools
To embark on your Hummus journey, gather these essential items:
- 1 (15-ounce) can chickpeas (garbanzo beans): Drained and rinsed thoroughly. Using dried chickpeas soaked overnight and cooked until tender is an even more authentic (and slightly more effort) option.
- ½ cup tahini: A paste made from toasted ground hulled sesame. Crucial for authentic flavor and creamy texture. Choose a good quality, runny tahini for the best results.
- ¼ cup fresh lemon juice: Approximately 1-2 medium lemons. Freshly squeezed is non-negotiable for brightness.
- 2 cloves garlic: Minced. Adjust to your garlic preference; roasted garlic adds a sweeter, milder flavor.
- ¼ cup ice water: The secret to achieving an incredibly smooth and fluffy texture.
- 2 tablespoons extra virgin olive oil: For drizzling and a hint of fruity richness.
- ½ teaspoon salt: Or to taste. Start with less and adjust.
- Pinch of cumin: Adds an earthy warmth; optional but highly recommended.
- Food processor: Essential for achieving a smooth, creamy consistency. A high-speed blender can also work.
- Rubber spatula: For scraping down the sides of the food processor.
- Fine-mesh sieve (optional): For removing chickpea skins for extra smoothness.
Prep Time & Cooking Schedule
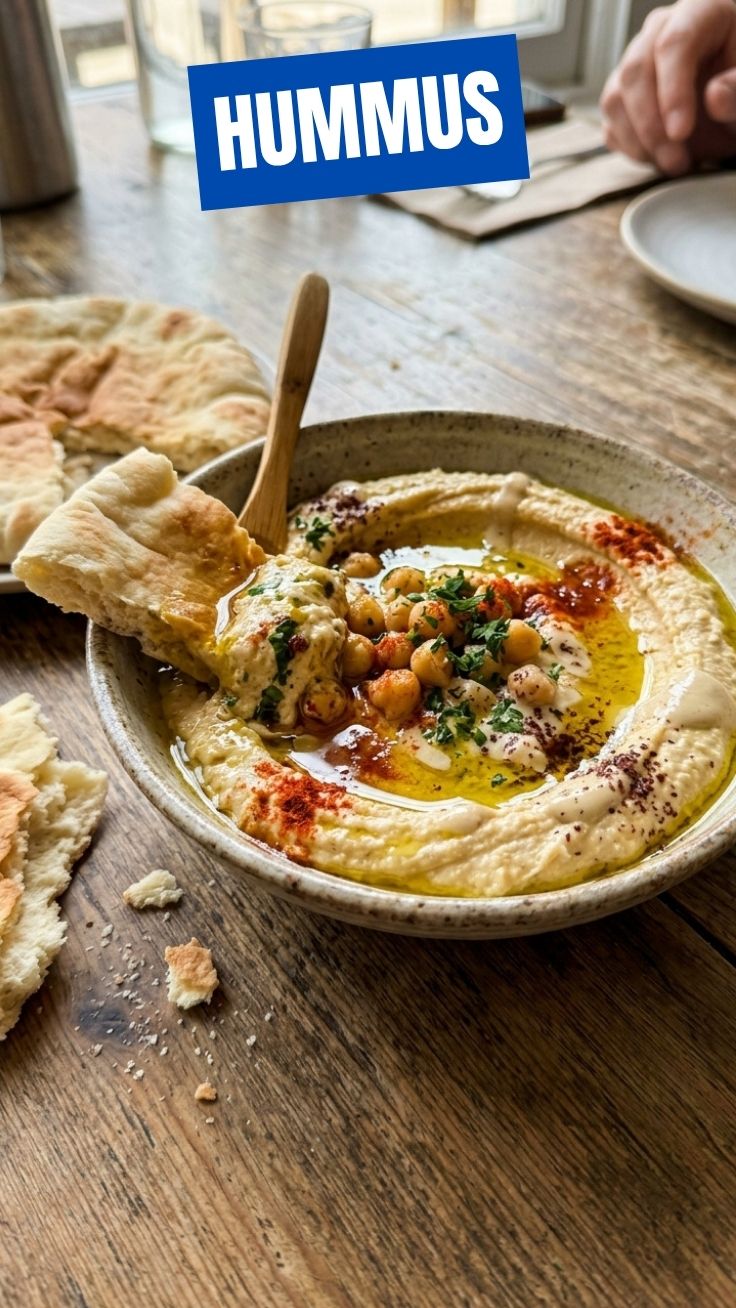
This Hummus is refreshingly quick to prepare, making it perfect for last-minute gatherings or meal prepping.
- Active Prep Time: 10-15 minutes (if using canned chickpeas).
- Cooking Time: 0 minutes (if using canned chickpeas).
- Resting Time: 30 minutes (optional, but allows flavors to meld).
If using dried chickpeas, factor in overnight soaking (8-12 hours) and cooking time (1-2 hours until very tender). For optimal flavor, we recommend preparing this dish at least 30 minutes before serving to allow the ingredients to marry.
Step-by-Step Instructions
1. Prepare the Chickpeas: Drain and rinse your canned chickpeas thoroughly. For an ultra-smooth consistency, some chefs recommend peeling the skins off each chickpea. While time-consuming, it makes a noticeable difference.
2. Combine Tahini and Lemon Juice: In your food processor, combine the tahini and fresh lemon juice. Process for about 1 minute until the mixture lightens in color and thickens slightly. This emulsification step is key to a creamy Hummus.
3. Add Garlic and Salt: Add the minced garlic and salt to the tahini mixture. Process for another 30 seconds.
4. Incorporate Chickpeas: Add the drained chickpeas to the food processor. Process for 1-2 minutes, scraping down the sides as needed, until a thick paste forms.
5. Achieve Creaminess with Ice Water: With the food processor running, gradually add the ¼ cup of ice water, a tablespoon at a time. This magical ingredient transforms the texture, making it light and airy. Continue processing until the Hummus recipe reaches your desired smooth and creamy consistency. This process usually takes 3-5 minutes, ensuring all ingredients are fully integrated.
6. Season and Serve: Taste and adjust seasonings – you might need more salt, lemon juice, or even a touch more tahini. Transfer the hummus to a serving bowl, drizzle generously with extra virgin olive oil, and sprinkle with cumin, paprika, or fresh parsley for garnish.
Nutritional Benefits & Advantages
Hummus is more than just a delicious dip; it’s a nutritional powerhouse. Chickpeas are an excellent source of plant-based protein and dietary fiber, promoting satiety and aiding digestion. Tahini provides healthy fats, including monounsaturated and polyunsaturated fats, as well as minerals like calcium and iron. Lemon juice adds a boost of Vitamin C, while garlic offers immune-boosting properties. This combination makes hummus a heart-healthy, gut-friendly, and energy-sustaining snack or condiment, suitable for various dietary needs, including vegan and gluten-free.
Tips, Variations & Cooking Advice
- Roasted Garlic: For a milder, sweeter garlic flavor, roast whole garlic cloves until soft before adding them to the food processor.
- Spicy Kick: Add a pinch of cayenne pepper or a dash of hot sauce for a fiery variation.
- Herbaceous Hummus: Incorporate fresh herbs like cilantro, parsley, or basil for a vibrant twist.
- Red Pepper Hummus: Roast a red bell pepper until charred, peel it, and add it to the food processor with the other ingredients for a smoky, sweet note.
- Texture Control: If your Hummus is too thick, add a little more ice water, one teaspoon at a time, until it reaches your preferred consistency.
Common Mistakes to Avoid
- Not Processing Long Enough: The key to creamy Hummus is sufficient processing time. Don’t rush it; let the food processor do its job.
- Skipping the Ice Water: This is a crucial step for achieving that coveted airy, smooth texture.
- Using Cold Tahini or Lemon Juice: Room temperature ingredients blend more evenly.
- Over-seasoning with Garlic: Start with less garlic and add more to taste, as raw garlic can be quite potent.
- Not Draining/Rinsing Chickpeas: Excess liquid can thin out your hummus and affect its flavor.
Storage & Meal Prep Tips
Homemade Hummus stores beautifully. Transfer it to an airtight container and refrigerate for up to 5-7 days. To prevent a crust from forming, pour a thin layer of olive oil over the surface before sealing. It can also be frozen for up to 3 months. Thaw overnight in the refrigerator and stir well before serving; you might need to add a splash of cold water to restore its creamy texture. This Hummus recipe is an excellent meal prep component, perfect for quick snacks, healthy lunches, or a delicious spread.
Conclusion
There you have it – the definitive guide to crafting the most exquisite homemade Hummus you’ve ever tasted. This incredible spread is not only simple to make but also bursts with fresh, wholesome flavors that simply cannot be replicated by store-bought versions. By following this easy-to-follow Hummus recipe, you’ve unlocked the secret to a versatile, nutritious, and utterly delicious dip that will become a staple in your kitchen. We encourage you to try this recipe, experiment with your own variations, and share your delightful results with us! Get ready to impress your friends and family with your culinary prowess.
FAQs
Q1: Can I make hummus without a food processor?
A1: While a food processor is ideal for the creamiest texture, you can use a blender (you might need to add a bit more liquid) or even a mortar and pestle for a rustic texture.
Q2: What if my hummus is too thick or too thin?
A2: If it’s too thick, gradually add more ice water, a tablespoon at a time, until you reach your desired consistency. If it’s too thin, you can try adding a tablespoon of extra tahini or blending in a few more chickpeas if available.
Q3: How do I get rid of the chickpea skins for a smoother hummus?
A3: To remove chickpea skins, gently rub drained and rinsed chickpeas between your hands or place them in a bowl of water and rub them; the skins will float to the top and can be skimmed off. This step is optional but significantly enhances smoothness.
Q4: Can I use dried chickpeas instead of canned ones?
A4: Absolutely! Soak dried chickpeas overnight, then boil them until very tender (they should be easily mashable). This often results in a more flavorful and superior texture.
Q5: What are some good pairings for homemade hummus?
A5: Hummus is incredibly versatile! Enjoy it with pita bread, fresh vegetables (carrots, cucumbers, bell peppers), crackers, in sandwiches or wraps, or as a side with grilled meats and salads.